Setup
How to Install a Fixed-Frame UST ALR Screen
Large fixed-frame ALR screens reward careful preparation. The goal is a square, flat surface mounted at the correct height and orientation before you start fine-tuning the projector. This page is a planning guide, not a replacement for the manufacturer’s current assembly manual.
Independent-guide note: Product-specific facts on this page come from published merchant information reviewed in September 2026. ScreenSignal did not independently lab-test this screen. Prices, availability and policies can change.
Before opening the screen
Confirm the wall is large enough, identify studs or the appropriate wall structure, clear a clean assembly area and check that the shipping package is undamaged. The featured screen has a listed net weight of 16.8 kg and is physically large, so a second adult is sensible for handling and lifting.Protect the optical surface
ALR material should not be creased, scratched or placed face-down on a dirty floor. Wash and dry your hands, remove jewelry that can snag the material, and work on a clean soft surface as instructed by the manufacturer.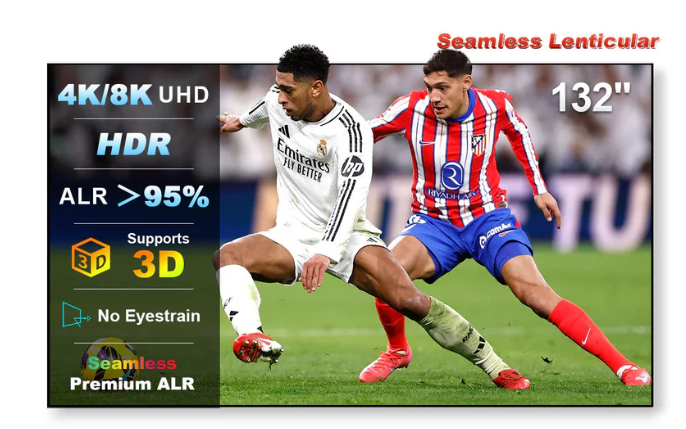
See the 132-inch NothingProjector screen
Check the current price, availability and merchant terms before you buy.
View Current OfferAssemble in the correct orientation
UST lenticular material is directional. Follow the screen’s top/bottom markings and the official assembly sequence. NothingProjector describes a pull-rod and spring system and says mounting hardware is included, but hardware suitability still depends on your wall type.Mount the frame square and level
Use an accurate level and measure bracket positions rather than estimating from furniture. The frame should be mechanically square before any projector correction is attempted.Align the projector physically first
Place the projector on a stable surface and adjust distance, height and left/right position until the image is as close to the screen boundaries as possible. Use digital geometry correction sparingly because it can reduce the usable pixel area and complicate focus.Final check
Inspect the entire image for focus, corner alignment and even seating visibility. Then test with ceiling lights and daylight so you understand which room lights most affect contrast.
Ready to check the current offer?
Open the merchant product page through our affiliate link to confirm today’s price, stock and terms.
View Current Offer